
Fingerstyle Exercises
Before beginning the first set of exercises, it will be necessary to review basic fingerstyle technique. As mentioned earlier the use of right hand fingerstyle with slide guitar can be difficult when deciding which finger to allocate to each string.
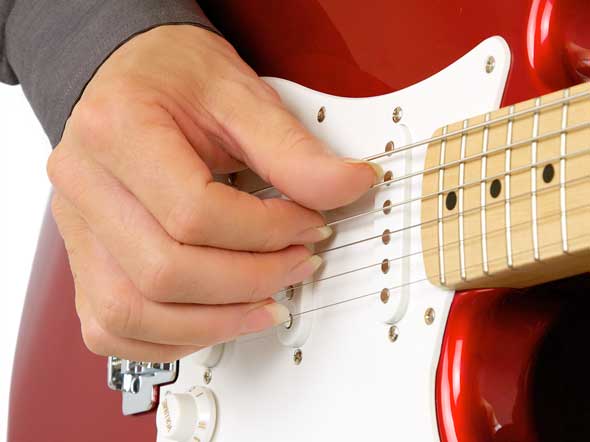
There are four basic positions the right hand can be placed depending upon which strings are being used.
If the first three strings are being used, then the thumb will control the third string, the first finger will control the second string and the second finger will control the first string. The first example uses Position One. The symbols T, 1 and 2 represent the thumb T, first finger 1 and second finger 2.


Position One
If the second, third and fourth strings are being used, then the thumb will control the fourth string, the first finger will control the third string and the second finger will control the second string. The second example uses Position Two.


Position Two
If the third, fourth and fifth strings are being used, then the thumb will control the fifth string, the first finger will control the fourth string and the second finger will control the third string. The third example uses Position Three.

Position Three
If the third, fourth and fifth strings are being used, then the thumb will control the fifth string, the first finger will control the fourth string and the second finger will control the third string. The third example uses Position Three.


Position Four
Note:
Using these four positions in conjunction with a right hand fingerstyle is the most efficient way of playing a slide guitar solo. Remember the position will change depending upon which strings are being used.
This fingerstyle method is highly recommended in preference to the pick method, as it is easier to control right hand damping, which is the most important basic fundamental to master with slide guitar. Though a lot of the following exercises and solos can be played with the pick, I suggest practicing with the fingerstyle method, as it will prove to be more efficient.